The main configuration of a relation is the creation of one or two relation fields called Inward or Outward field. It reflects the start and end point of a relation. But before you create the relation fields, you first have to create the relation itself:
Create New Relations
To create new relations, please navigate to the Jira Cloud Administration → Apps → STAGIL ASSETS and choose “Relations”:

Now you can add a relation by filling out the following screen:

Color: color of the relation if its displayed in a graph.
Link Type: choose “Custom Asset Relation” in case you want to create a custom relation type (this is the main use case of our app).
Outward Field: Name of field that represents the start point of the relation.
Inward Field: Name of the field that represents the end point of your relation.
Show in Graph: check the box to show your relation in graphs (checked by default).
Status (Active / Inactive): Search status of your relation.
Example
Here you can see a relation that connects databases with applications. The field “Application Database” will appear in issues from type “Application” and will show the database connected to the application. The field “Database used by” will appear in issues from type “Database” and will list all applications that are connected to the database.

Set Relation Field Contexts
The context defines in which projects and issue types your relation fields will appear. The context has to be set individually for each relation field. To choose a context for a relation field you have to click on the name of the field:
The following dialog will open. Choose in which projects and issue types your field should appear, then click Add:

Configure Relations
After setting the context the relation is ready to be configured. Click Configure to start:

Data Logic
Under the Data Logic tab you can define the scope of your relation:
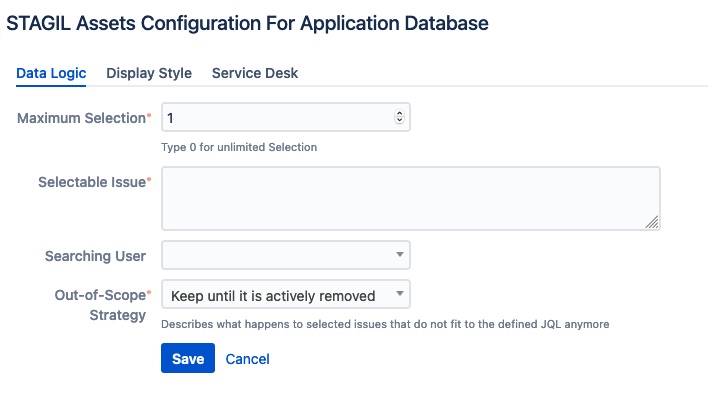
Maximum Selection: Defines, how many issues can be linked to the relation field.
Selectable Issues: Defines, what kind of issues you can select in the relation field.
Searching User: User, who is used to run the query from the step above. Can be used to apply further restrictions based on the users view permissions.
Out-of-Scope Strategy: Defines the strategy to keep or remove relations.
Display Style
Under the Display Style tab you can define the appearance of the issue panels that display relations in the issue view:
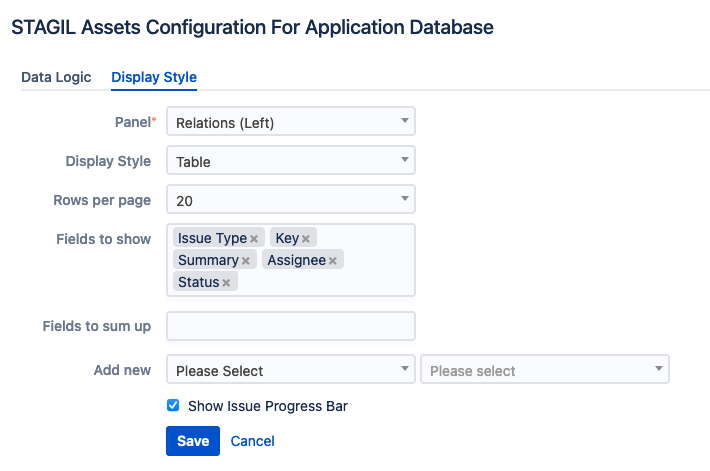
Panel: Relations (Left) / Relations (Right). Select if you want to display the relation table at the left or right side of your issue.
Display Style: Table / List / Table + pop-up
Rows per page: Select the max. amount of rows per page (rest will be shown with pagination).
Fields to show: Select the fields that should be displayed in the panel.
Fields to sum up:
Issue Progress Bar: Sums up the progress of linked issues in panel based on status and visualizes it in a progress bar.
Add new: Define assets for quick-creation from issue view.
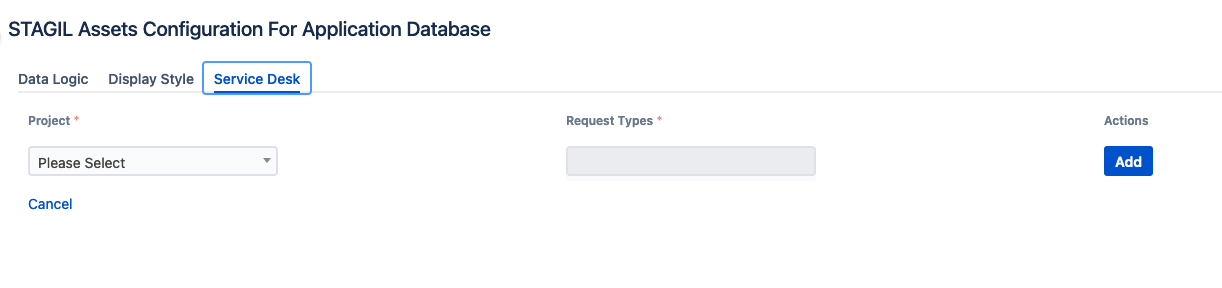
Service Desk
In case you want to make your relation field available in Jira Service Management as well you can define projects and issuetypes in this menu.
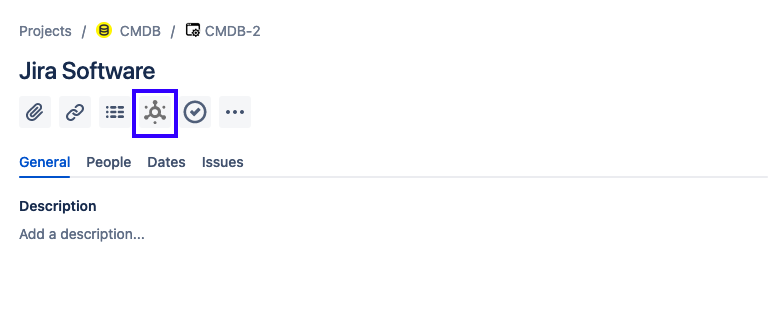
Display Relations in Issue View
Use this button to display the relation in issue view: